How to Fix 0x80070570 Windows 11 or Windows 10 Installation Error
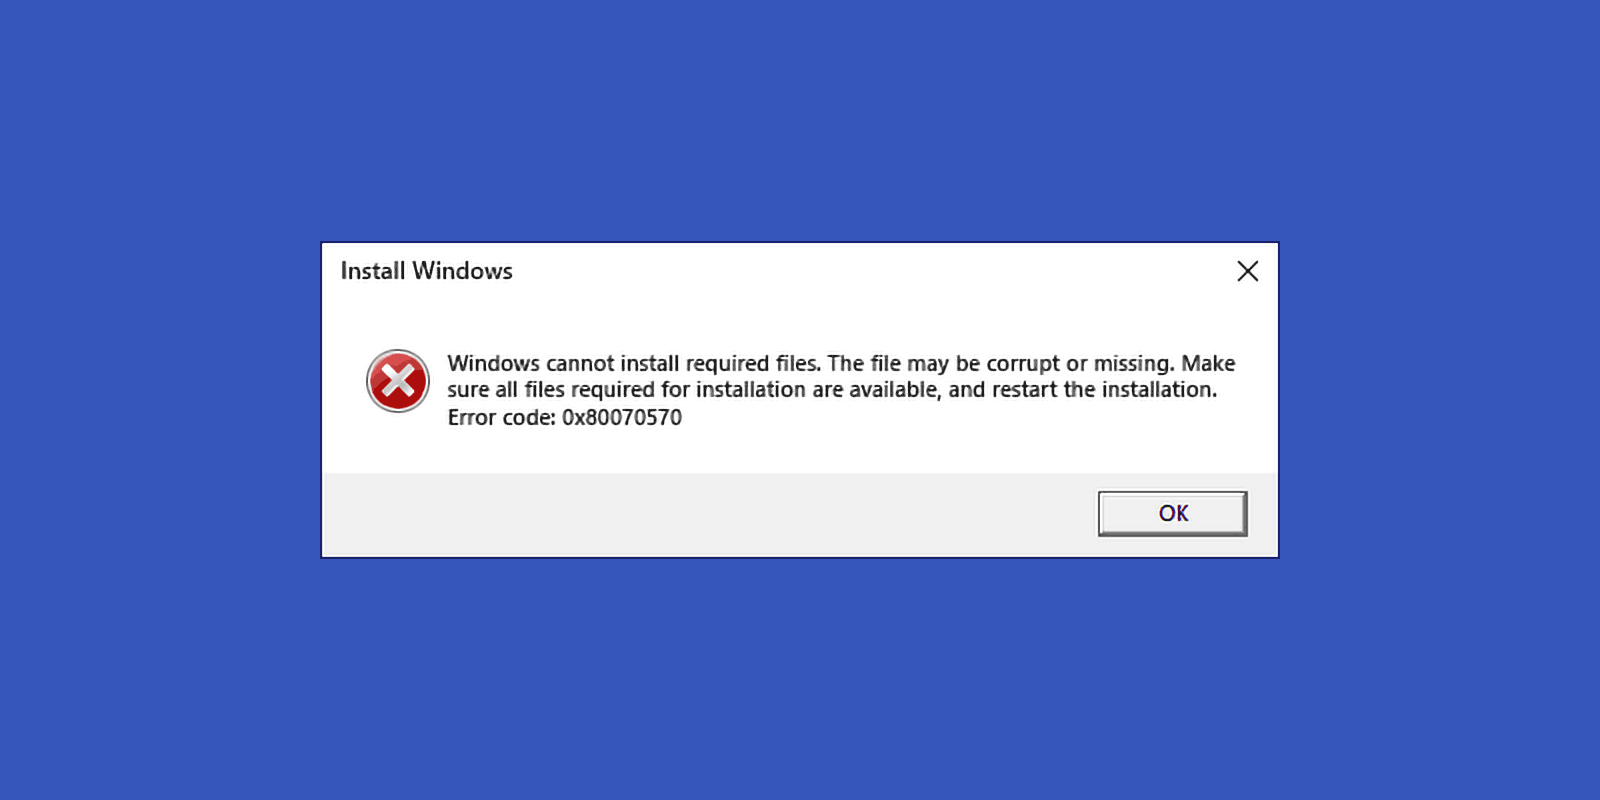
While installing Windows 11 or Windows 10 some users get the 0x80070570 error – “Windows cannot install required files. The file may be corrupt or missing. Make sure all files required for installation are available, and restart the installation."
The issue is quite common and there is no single real working solution. But there are steps you can try to be able to successfully install Windows on your computer and fix 0x80070570 error. So, without further ado, let's begin.
Table of Contents
New Windows Installer Drive, Different USB Port, ISO Image
Error code 0x80070570 stands for ERROR_FILE_CORRUPT and usually indicates that the files required for installation are corrupt or missing. This may be the cause of the problem, but it’s not the only possible reason. Sometimes it is installation USB read or target SSD/HDD write errors that cause the issue. It may also be a RAM failure or current operating system or your antivirus software.
To isolate the issue, follow these steps:
- If you perform a clean install using USB installation/bootable media, try disconnecting other optional USB devices, also use a different port on your PC or laptop to connect the USB drive. For PC using USB ports on the back is preferable. Avoid using USB hubs, extension cords or similar devices. It also makes sense to check the installation process when using a USB 2.0 connector instead of the blue-colored USB 3.0 ports.
- If your installation drive is the genuine USB stick, create a new Windows 10 or Windows 11 installation media using your own USB flash drive and the official Installation Media Creation Tool from Microsoft. Use the license key you’ve bought to install it.
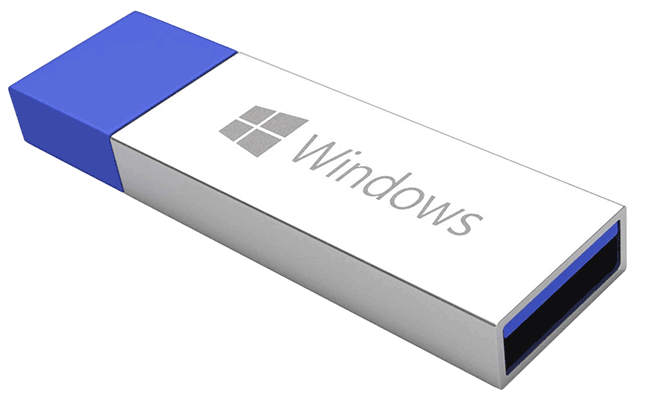
- Check the target installation drive for file system errors. If the installation is performed as in-place upgrade, open the command prompt as Administrator and use chkdsk C: / f command to start the scan. If it’s a clean install, press Shift+F10 or Shift+Fn+F10 keys to open the command prompt and run the same command. However, keep in mind that the system drive letter may differ from C during clean installation. To find the actual letter, you may launch notepad by entering the “notepad” command, and then look at the current drive letters through the “File” - “Open” in main menu. Next, close notepad and use the actual drive letter in the chkdsk C: /f command.
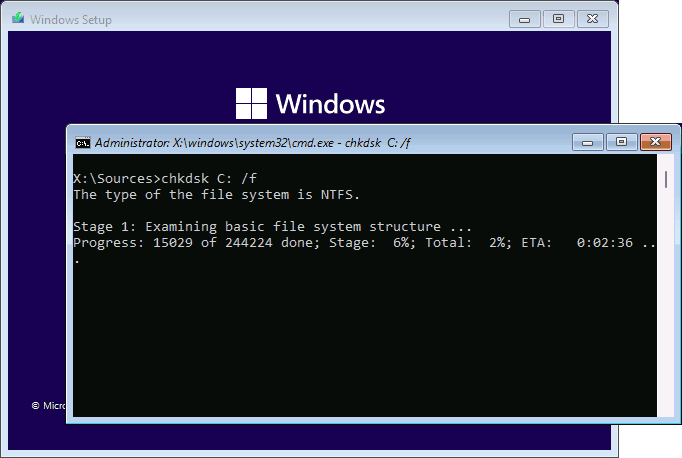
- Try using another USB drive to make Windows installation media.
- If you’re encountering error 0x80070570 error when using Windows ISO image stored on your computer, I suggest downloading new ISO using the official MCT utility from Microsoft.
- Make sure you have enough free space on target drive. It’s hard to determine exact “enough” number but 50+ Gb for installation should be Ok.
- Provided you have the necessary skills, try running the installation while disconnecting all non-system internal drives from your PC if it has more than one HDD or SSD.
Try Clean Install instead of In-place Upgrade and Vice Versa
If you already have Windows 10/11 and run fresh install within the running system setup.exe file or using “Upgrade this PC now” option in Media Creation Tool, it is called in-place upgrade. Clean install means booting your PC from bootable installation media and performing installation without relying on current installed OS.
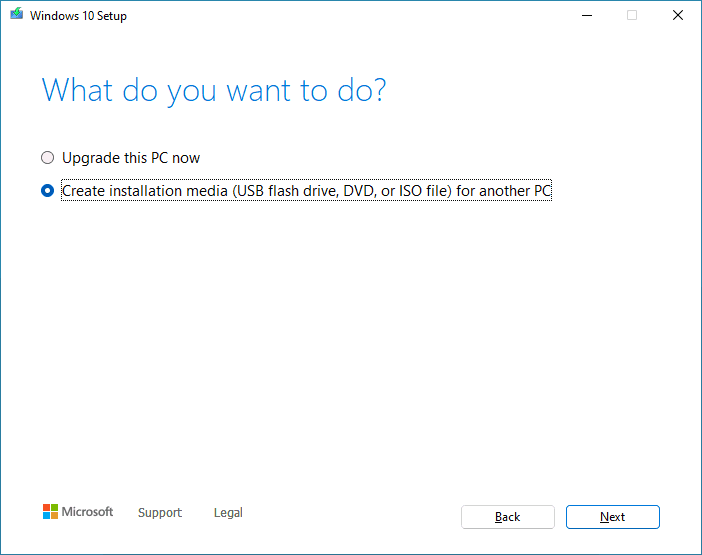
Sometimes on of these methods fails with 0x80070570 error code while another works perfectly. It’s worth trying.
More ways to fix the 0x80070570 error
If after having done everything listed in the above methods, there is still no luck there are some more to try:
- When performing in-place upgrade disable your antivirus: real-time protection, memory protection and other available options. Disabling it completely for a while would be the best option.
- For in-place upgrade delete hidden folders named starting with “$” like $WINDOWS.~BT or $WINDOWS.~WS.
- Download Windows image and create installation media on another computer. Hardware or software issues on the current PC may cause data corruption.
- Try running the installation with the Internet connection disabled: turn off Wi-Fi or disconnect Ethernet cable.
- There may be an issue with the RAM. Disable RAM overclocking if enabled, leave only one RAM module connected (and if an error is still there, change it to another one), scan the RAM for errors by running the Memory Diagnostic Tool. To test memory right during the clean install use Shift + F10 keys and mdsched.exe command in the command prompt.
- Update the BIOS and/or reset the BIOS/UEFI to optimized defaults. Make sure the SATA drive mode is set to AHCI if the setting is available.
I hope this guide has helped and you’re able to install Windows 11/10 on your computer. I would be grateful if you let me, and others know how it worked in the comments section below.





Comments