How to Fix “Remove Failed” While Removing Bluetooth Device on Windows 10 and Windows 11
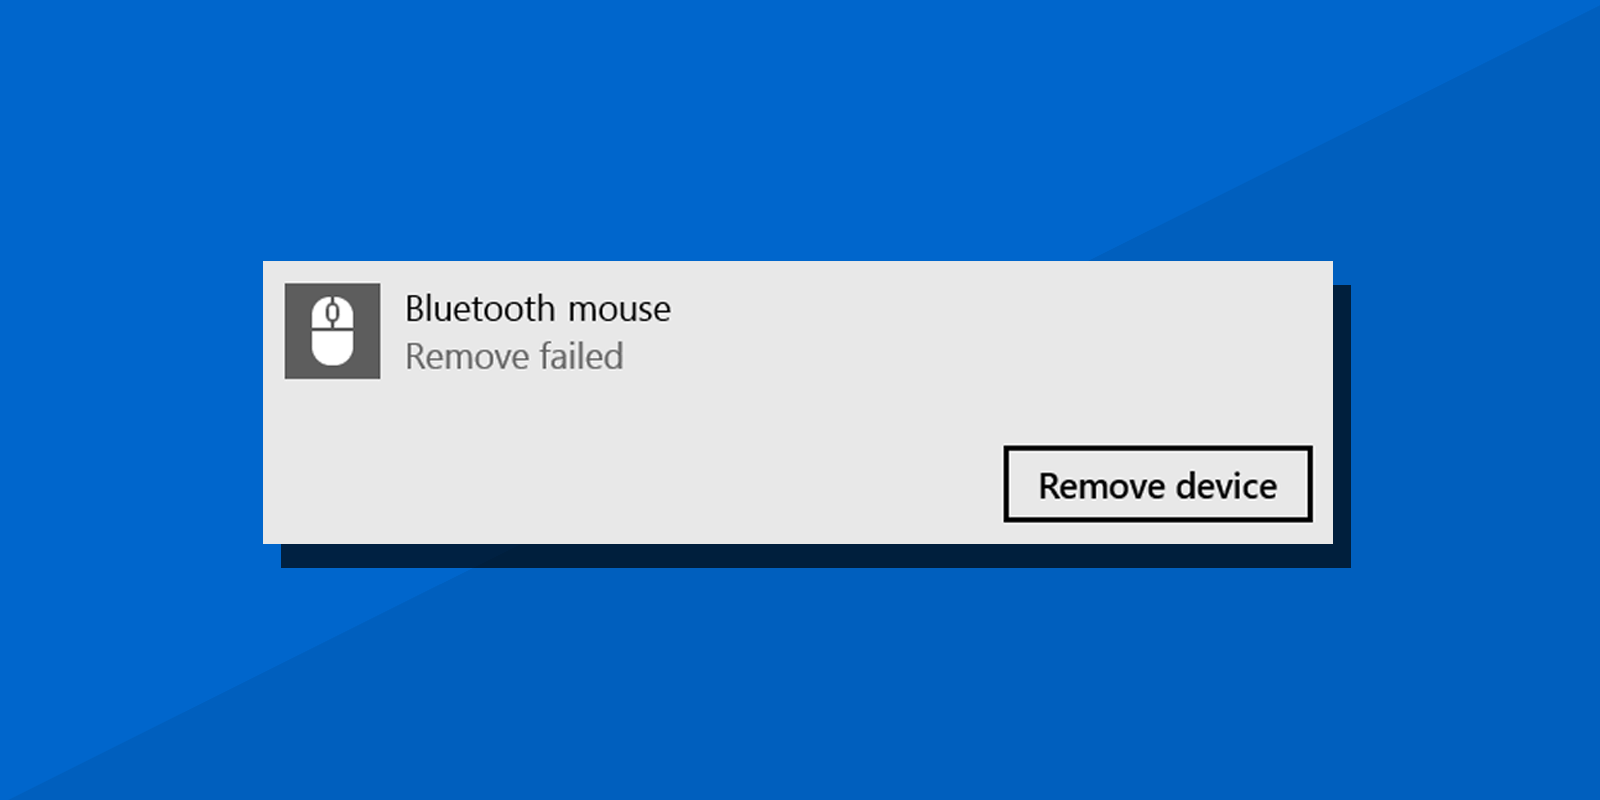
While removing Bluetooth devices that are no longer used in the Windows 10 or Windows 11 Settings app it may result in “Remove failed” message and hitting “Remove device” button again doesn’t help to fix it, you still can’t remove selected Bluetooth device.
Below you can find simple methods to remove Bluetooth device if you encounter the above issue. The following options can be used to remove a Bluetooth device when the Settings interface will not work: Device Manager, Registry Editor or Control Panel.
Remove the Bluetooth Device Using Device Manager
Probably the most effective way to remove the Bluetooth device that fails to be removed using Settings is uninstalling it in Device Manager. Here are the required steps:
- Right-click the “Start” button and select “Device manager” to open it.
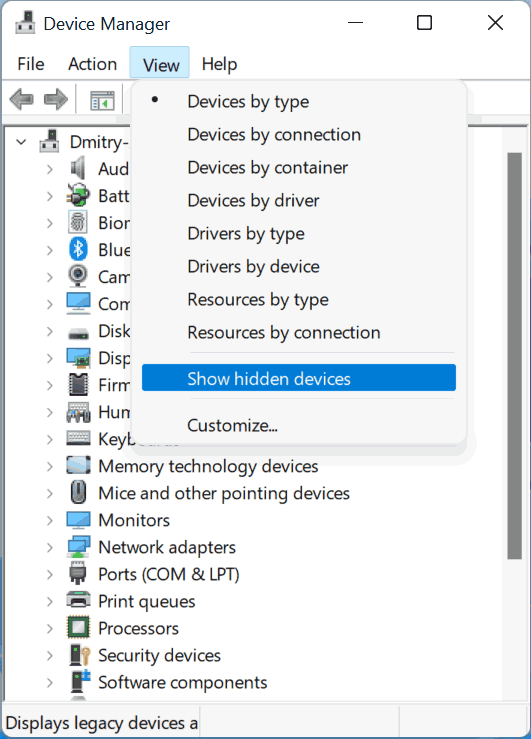
- In device manager’s main menu select “View” then check “Show hidden devices”.
- Expand the “Bluetooth” section, right-click the device you wish to remove and click “Uninstall”.
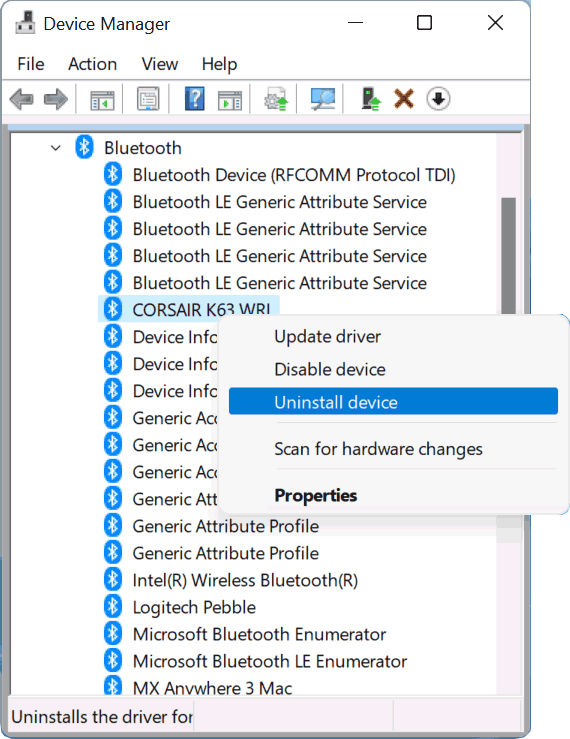
- Confirm device removal.
Sometimes you can find multiple instances of one device in Device Manager’s “Bluetooth” section. In this case just uninstall each instance one by one.
Remove Bluetooth Devices Using Control Panel
Another method is the old Control Panel interface that is still there on Windows 11 and Windows 10 and can be used instead of the new Settings app:
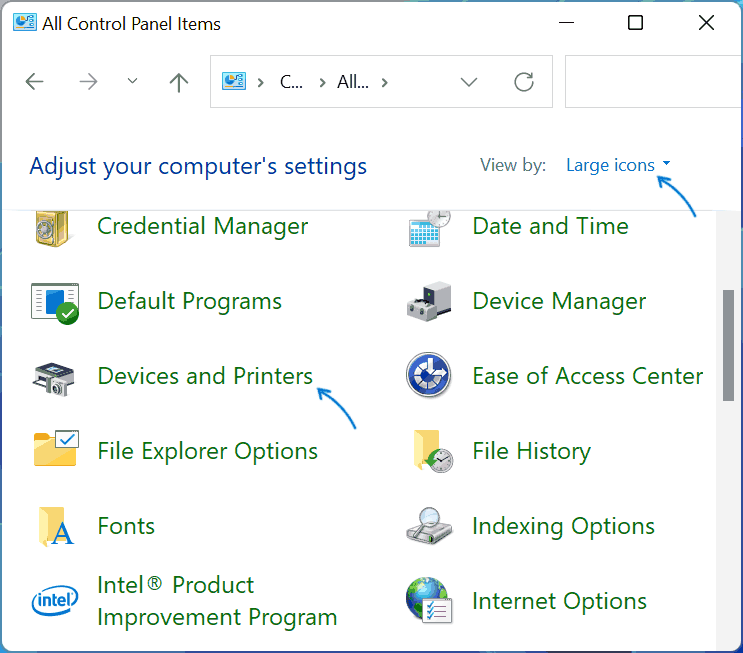
- Open Control Panel using Search in the Windows taskbar.
- Make sure to select “Icons” within “View by” option.
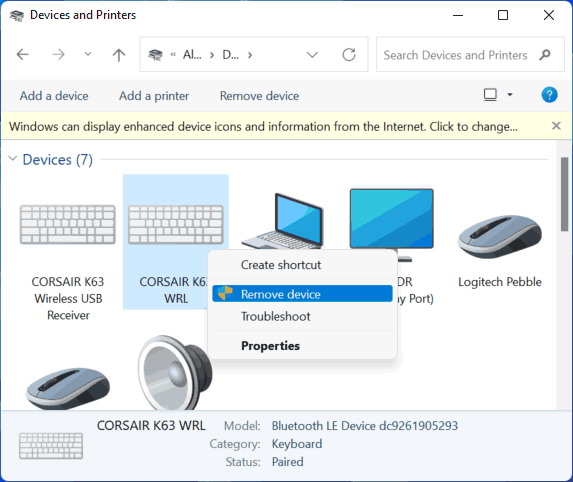
- Open “Devices and Printers”.
- Right-click the device you need to remove and select “Remove device”.
If the method didn’t work for you, you can manually delete Bluetooth devices from the Windows registry using the next approach.
Delete Bluetooth Device by Editing the Windows Registry
Windows Registry keeps the list of the Bluetooth Devices you’ve connected to your PC. It is possible to remove entries for specific Bluetooth devices using the Registry Editor. Here is how:
- Hit Windows + R keys, type “regedit” and press Enter to open the Registry Editor.
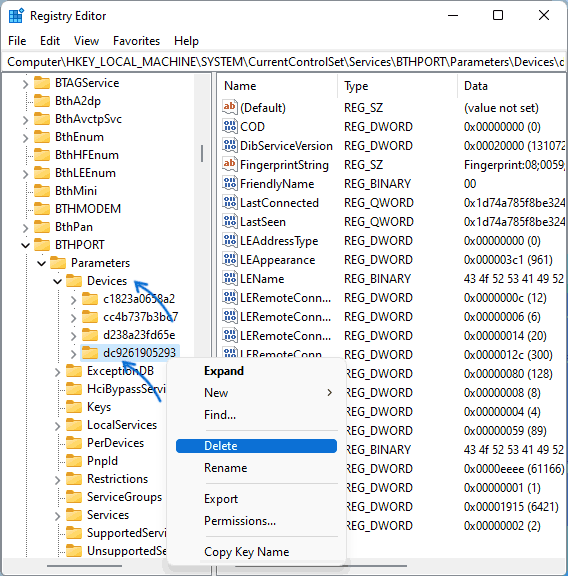
- Using the left pane or address bar navigate to
HKEY_LOCAL_MACHINE\SYSTEM\CurrentControlSet\Services\BTHPORT\Parameters\Devices\ - The selected registry key will have one or more subkeys with names consisting of numbers and A-F letters. Each subkey is a Hardware ID for connected or previously paired Bluetooth devices.
- If you delete the subkey by right-clicking it and selecting “Delete” and your computer after, the device will be removed.
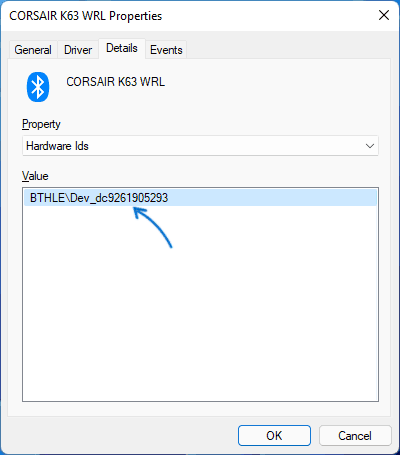
- To find the Hardware ID of the Bluetooth device you wish to remove open Device Manager using the Windows + X menu. In Device Manager, right-click the Bluetooth device and select “Properties”, open “Details” tab and select “Hardware Ids” option from the “Property” drop-down list. You will see Dev_hardwareid value that will help you to identify the registry key to delete.
I hope the guide has helped you. If not, there’s on extra option: some users report that enabling Airplane mode using the dedicated Fn-keys or Windows Action Center, and removing the Bluetooth device with Airplane mode enabled may resolve the issue.


Comments